Highlights
- Good standing desk cable management gives your cables room to move freely, rather than pulling them tight or fixing them to the floor.
- Start by listing every device and cable before you buy accessories or start clipping things into place.
- Mount a power board and cable tray under the desktop so most cables move with the desk.
- Run one flexible cable bundle from the desk to the wall, with enough slack for the desk’s full height range.
- Test your setup at the lowest and highest settings before you finish.
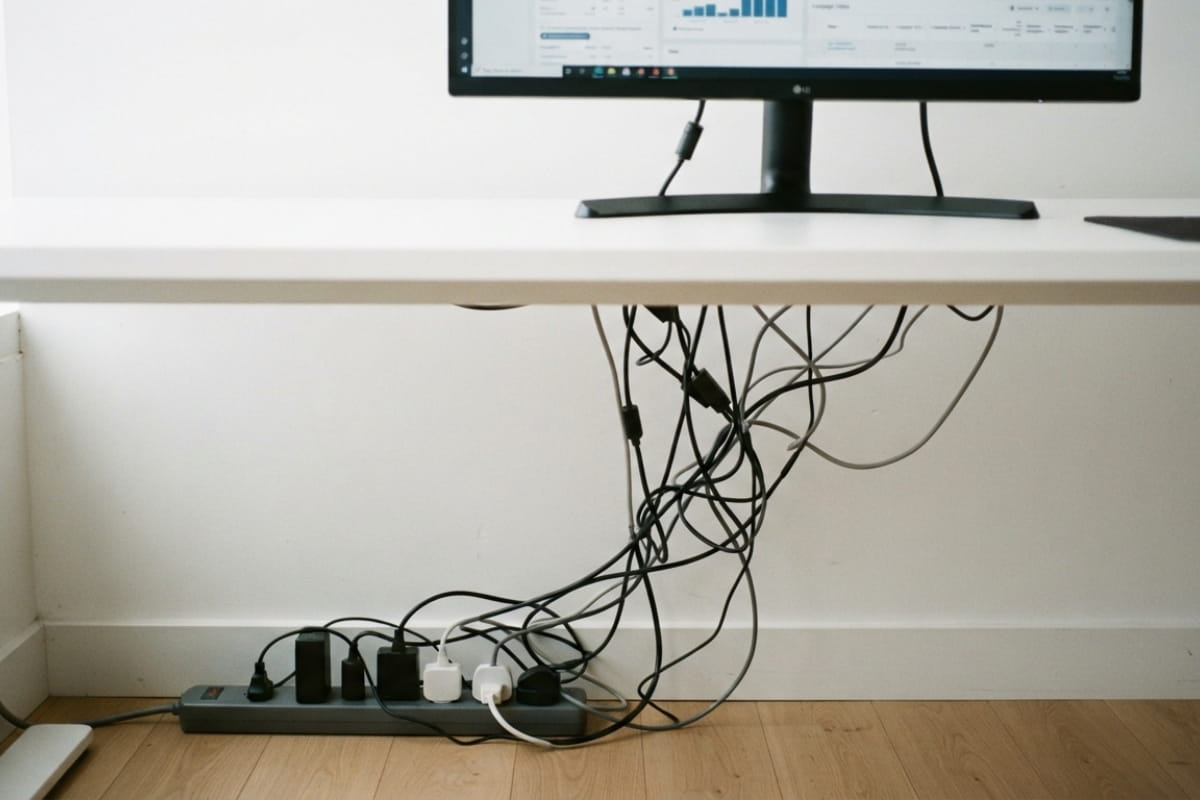
Standing desk cable management means giving every cable room to move as your desk rises and lowers, so nothing gets stretched, dragged or caught. When your desk moves up and down several times a day, every power and data cable has to move with it. Cables that are too short get stretched, cables that are too loose drag on the floor, and cables in the wrong place get caught in the frame.
The good news is that a few key accessories and simple steps solve most of these problems. Whether you have just bought one of our adjustable desks or you are tidying an existing setup, this guide explains how to route, secure and organise your cables so they stay safe at every height.
Why do standing desks need different cable management?
Standing desks need different cable management because the desktop moves while the wall socket stays put.
On a fixed desk, you can run cables once and forget about them. A height-adjustable desk changes that. Each time you switch from sitting to standing, the desktop and everything on it rises, while the wall socket and floor stay put.
This happens more often than you might think. When you transition to a standing desk, we recommend alternating regularly between sitting and standing rather than remaining in one position for too long. Understanding how long you should stand at a time can help you build a comfortable routine, but it also means your cables need enough slack and flexibility to move safely with your desk several times throughout the day.

Our Elevate Sit-Stand Desk, for example, adjusts from 640mm to 1290mm. That is 650mm of travel, and any cable running from the desk to the wall has to cover that distance without strain.
Good sit-stand desk cable management needs to handle three things:
- Movement: cables must lengthen and shorten smoothly as the desk rises and lowers.
- Safety: loose cables near the legs, motors or crossbar can be pinched, crushed or pulled out of their plugs.
- Trip hazards: slack that hangs to the floor when the desk is low can catch your feet or chair’s castors.
That is why cable management for standing desks focuses on keeping most cables attached to the desk itself, with one controlled connection to the power point.
How do you manage cables on a standing desk?
Good cable management for any standing desk setup comes down to six steps:
- List your cables
- Position the power source
- Use an under-desk cable tray
- Leave slack for the full height range
- Secure cables
- Test the full range
Each step is explained below.
1. List every cable before organising the desk
Before you buy cable clips or start tying cables together, take note of what is actually on your desk. Most cable problems start when you add a new device and simply drape its cable over the back edge.
Write a quick list of every item that needs power or data, such as:
- Monitors (power and display cables for each screen if you use multiple monitors)
- Laptop or desktop computer and charger
- Keyboard and mouse (a wireless keyboard and mouse cuts down the number of cables)
- Docking station or USB hub
- Desk lamp
- Phone charger
- Speakers, webcam or headset base
- Network (Ethernet) cable
- The desk’s own control box and motor cables
Next, note which items sit on the desk and which stay on the floor. Most setups, such as a laptop with one or two monitors, sit entirely on the desk and move with it. Anything that stays on the floor, such as a desktop computer or printer, will need extra cable length to reach the desk when it is fully raised.
This list also helps you choose the right cable management accessories and spot cables you no longer need.
2. Position the power source
Where your power comes from shapes the rest of your setup. Ideally, place your desk close to a wall socket so the cable running from the desk to the wall is short and easy to manage.
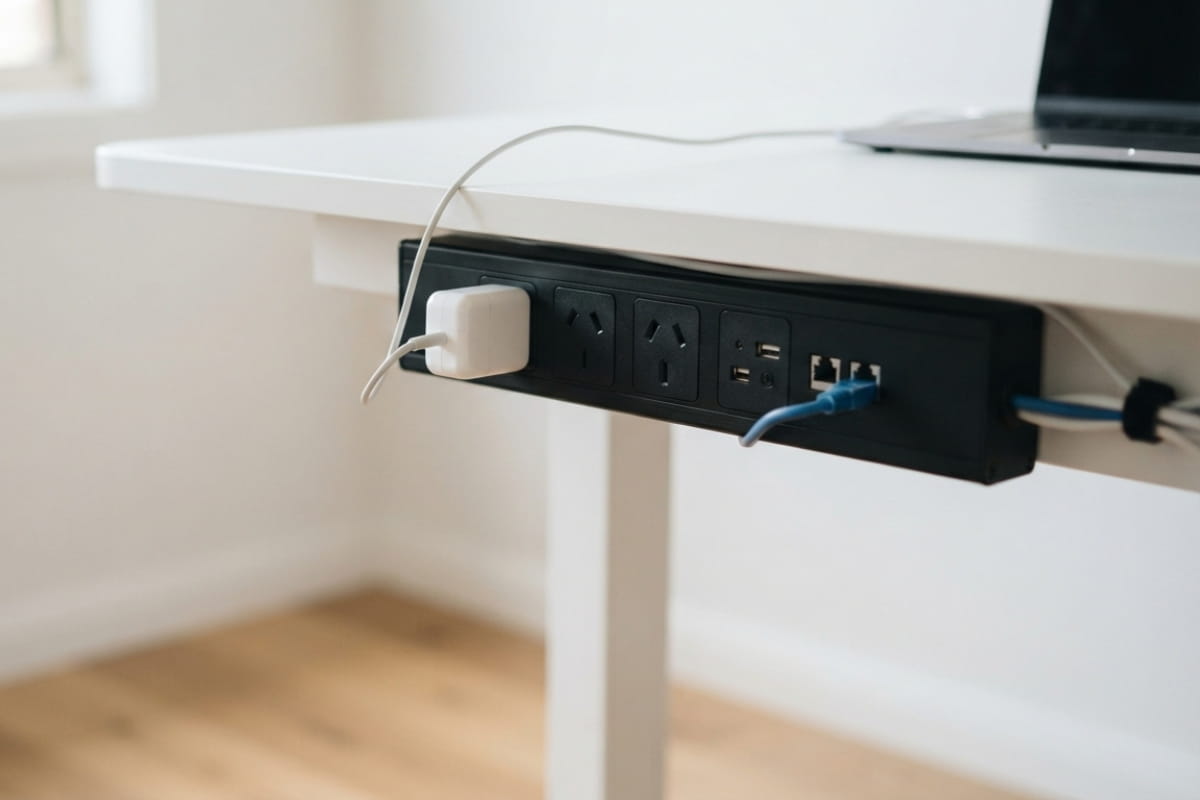
The simplest approach is to mount a power board (also called a power strip) directly under or on the desk. That way, your devices plug into a point that moves with the desktop. Only one cable, the power board’s lead, needs to travel down to the wall.
ARTEIL offers two power board options for Elevate desks:
- ECD Powerboard Only (add $110.00)
- Elevate Powerboard with Cable Basket (add $165.00)
The Elevate power board includes 4 power inputs. This keeps charging and data connections within easy reach, so you don’t need to reach under the desk every time you plug in a laptop.
Avoid running a standard power board on the floor with every device plugged into it. Each cable then needs its own slack, which multiplies the tangle. A mounted board also prevents feet from knocking plugs loose, a common power board problem.
3. Use an under-desk cable tray
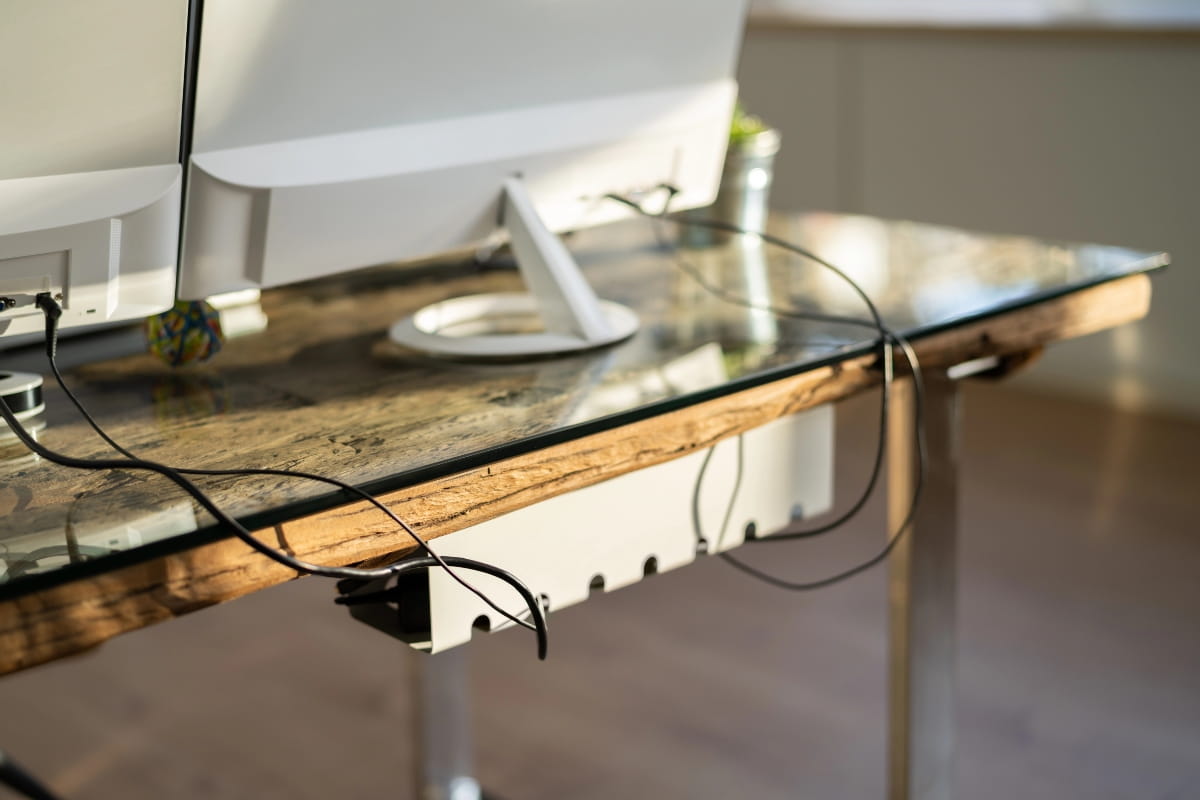
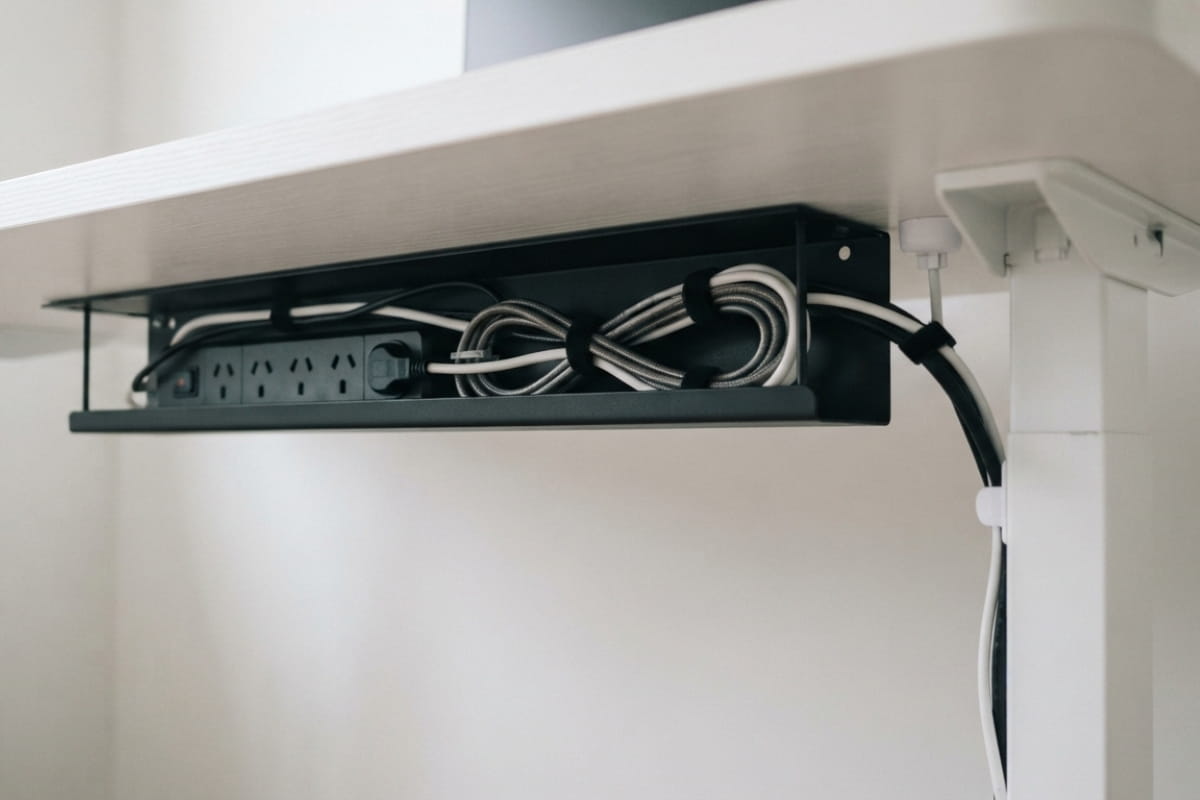
An under-desk cable tray, also called a cable management tray, is the backbone of good standing desk cable management. It sits beneath the desktop and holds your power board, adaptors, chargers and excess cable length out of sight.
Because the tray is fixed to the desk, everything inside it rises and falls with the desktop. Cables between your devices and the power board stay the same length at every height, so they never get stretched.
To get the most from a cable tray:
- Place the power board, power cables and bulky power adaptors inside the tray.
- Coil any extra cable length loosely and tuck it in, rather than letting it hang.
- Feed monitor and laptop cables down through the back of the desk and straight into the tray.
- Leave a little room for future devices.
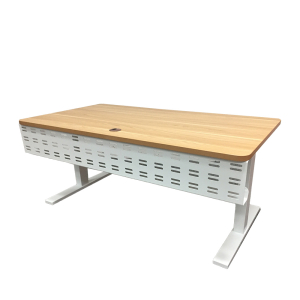
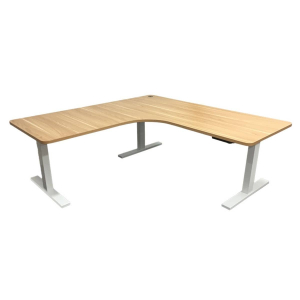
You can add a cable tray to Elevate desks for $55.00. For a cleaner look from the front, pair it with a modesty panel, which helps hide cables and screens the underside of the desk. Both are available on the Elevate Sit-Stand Desk (L Shape) and the Elevate Sit-Stand Desk (Standard).
Which cable management accessories do you need?
Most standing desk setups only need a few accessories. Here’s what each one does and where it goes:
| Accessory | What it does | Where it goes |
|---|---|---|
| Power board | Gives your devices a plug point that moves with the desk, so only one cable runs to the wall | Mounted under the desktop or inside the cable tray |
| Cable tray | Holds the power board, adaptors, chargers and spare cable length out of sight | Fixed under the desktop |
| Velcro straps or cable clips | Hold desk-mounted cables in place without fixing them permanently | Under the desktop and along the frame |
| Cable sleeve or cable spine | Bundles the desk-to-wall cables into one flexible loop | Behind the desk, between the desktop and the wall |
| Modesty panel | Hides cables and the underside of the desk from the front | Front of the desk |
4. Leave enough cable movement for the desk’s full height range
The cable running from your desk to the wall needs to be long enough to reach comfortably when the desk is at its highest setting. If it is too short, it will pull on the plug or the power board every time you stand up.
Set your sitting and standing heights before you finalise your cables, as these are the positions your desk will move between most often.
A simple way to check is to raise the desk to its maximum height before you connect the final cable. Plug it in, route it neatly, then lower the desk and see where the slack ends up.
When the desk is lowered, that extra length should:
- Form a gentle loop rather than a sharp bend
- Stay clear of the floor, chair castors and your feet
- Hang behind the desk, not inside the frame or near the motors
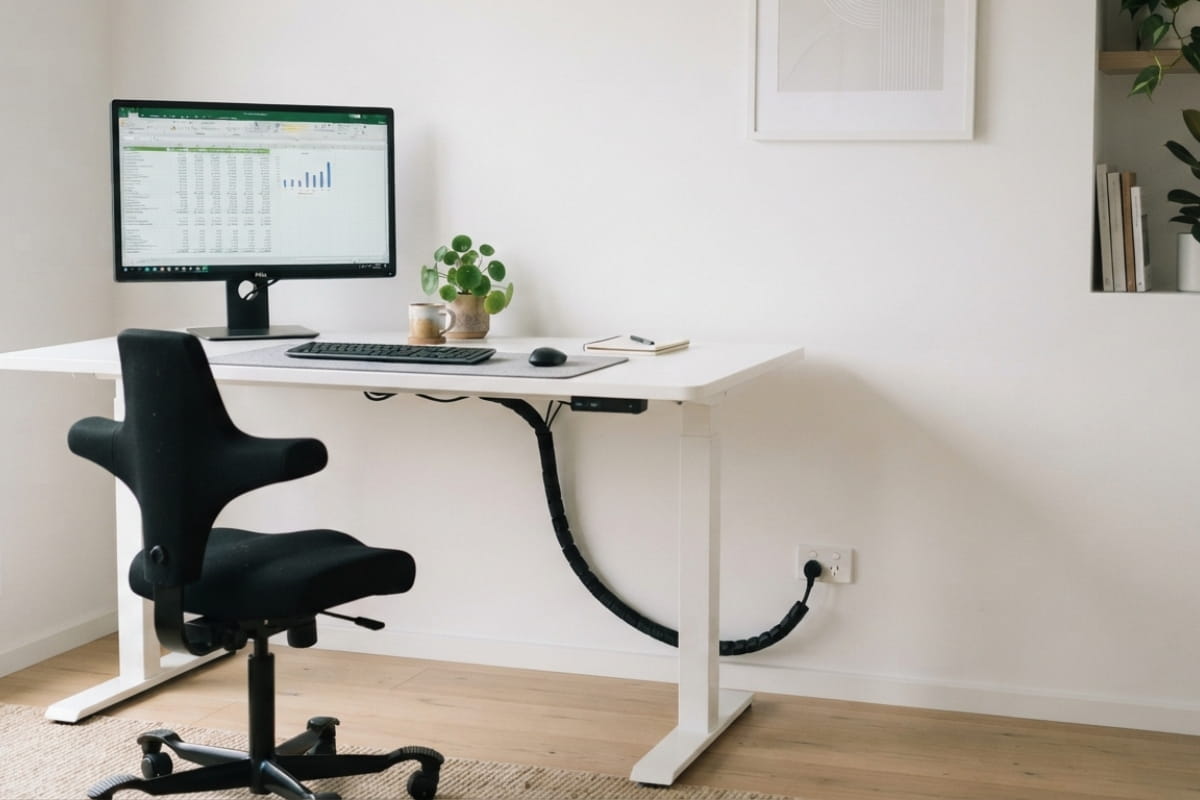
Bundling multiple cables that travel from desk to wall into cable sleeves or a single flexible spine keeps this loop tidy. It also stops individual cables from separating and catching on the frame as the desk moves.
5. Secure cables without preventing movement
Stand-up desk cable management aims to control where cables go without locking them in place. Secure the cables that live on the desk, and leave the desk-to-wall connection free to flex.
Use reusable Velcro straps or adhesive cable clips under the desktop to hold cables against the frame or tray. If you use a monitor arm, clip the monitor cables along the arm so they move with the screen. Avoid fixing the desk-to-wall cable to the wall, skirting or floor too close to the desk, as this removes the slack it needs.
Keep cables away from legs and moving desk components
Electric desks have motors in the legs and moving parts in the frame. Cables that drift into these areas can be pinched or worn through over time.
- Route cables along the back of the desk, away from the legs.
- Keep cables clear of the crossbar and any gap that closes as the desk lowers.
- Do not run cables between the desktop and frame where they could be squashed.
- Check that the desk’s own control cables are neatly clipped and not hanging loose.
6. Test the desk at its lowest and highest settings
Once everything is in place, run the desk through its full range. Lower it to the bottom, then raise it to the top, and watch each cable as it moves.
Look for any cable that tightens, rubs against the frame, catches on a nearby object or drops onto the floor. Adjust and test again until the desk moves smoothly from end to end. This takes a few minutes but can prevent damaged cables, unplugged devices and unnecessary wear on the desk later on.
Common standing desk cable management mistakes
Even a well-planned setup can end up with messy cables. These are the issues we see most often:
- Measuring cables at sitting height only. Everything looks neat until you stand up and the cables pull tight.
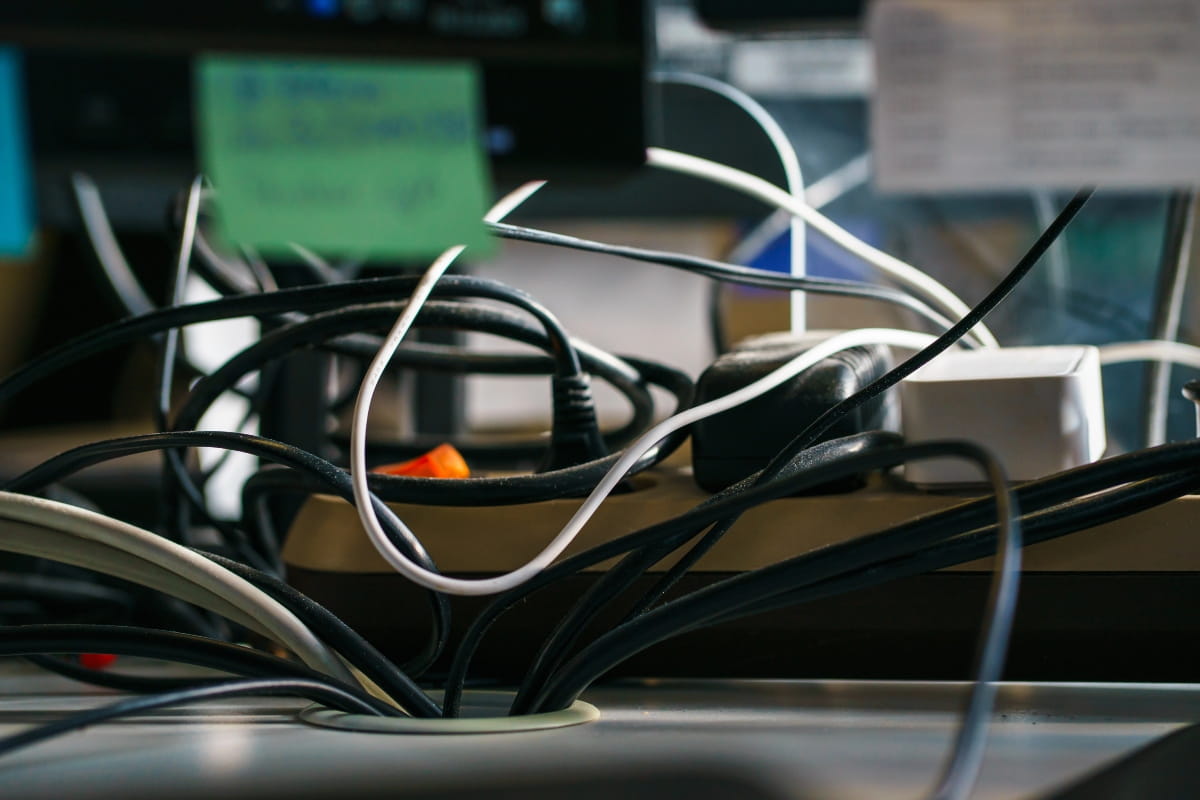
- Leaving the power board on the floor. Every device then needs its own long cable running up to the desk.
- Fixing cables too tightly. Clipping or tying down the cable between your desk and the wall stops it moving freely as the desk rises.
- Too much loose slack. Long loops that reach the floor become trip hazards and can catch on chair castors.
- Running cables through the frame. Cables near the legs or crossbar can be pinched as the desk lowers.
- Forgetting floor-based devices. A computer tower or printer on the floor needs extra reach when you raise the desk.
Cable management is just one part of creating a comfortable workspace. Other common standing desk mistakes, such as incorrect desk height and poor monitor positioning, can affect your ergonomics and lead to discomfort.
Once your cables are organised, adjust your screen, keyboard, and desk height to support better posture and a more comfortable working position throughout the day.
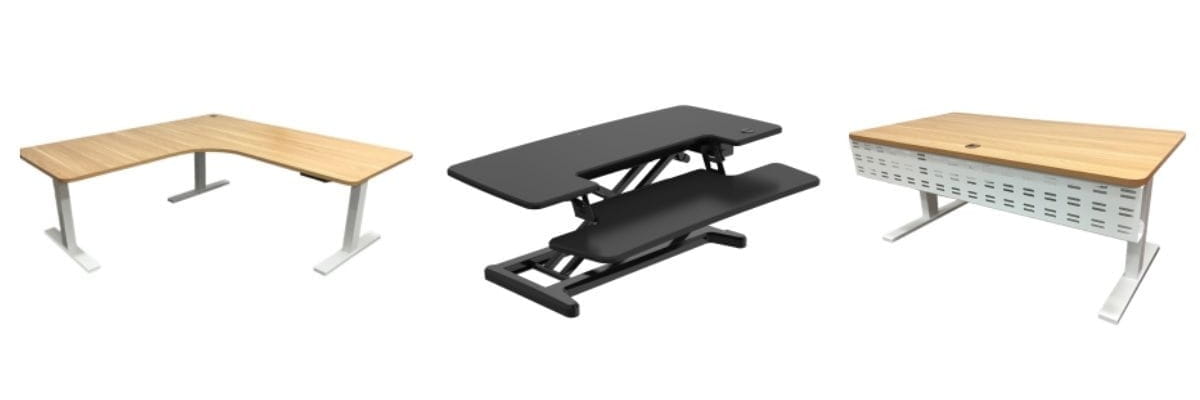
Set up a tidy sit-stand desk with ARTEIL
Planning your cables when choosing your desk is the easiest approach to standing desk cable management. You can order our adjustable desks with a cable tray, power board, and modesty panel to keep your workspace tidy from day one. Every Elevate desk also comes with a 3-year warranty.
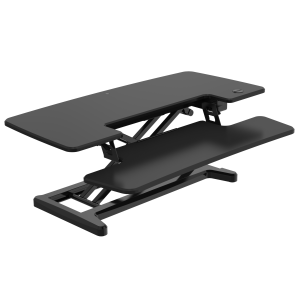
If you’re considering a standing desk converter vs standing desk, think about how much workspace you need, your existing furniture and whether you want a fully adjustable desk or a desktop unit.
Visit our O’Connor showroom to see our desks and accessories in person, or call our team on (08) 9337 8399 for advice on the right setup for your workspace. We deliver within 25 km of the Perth CBD and can assemble your desk on site.
Frequently asked questions
The simplest way to manage cables on a standing desk is to mount a power board and cable tray under the desktop. Plug your devices into the board so they rise and fall with the desk. Then run one bundled cable from the desk to the wall, leaving enough slack for when the desk is fully raised.
The cable from your desk to the wall should reach comfortably with the desk fully raised, without pulling tight. When you lower the desk, the extra length should sit in a loose loop behind it, clear of the floor.
You don’t strictly need one, but a cable tray makes standing desk cable management much easier. It holds your power board and spare cable under the desktop, so everything moves with the desk. You can add a cable tray to our Elevate Sit-Stand Desks when you order.
Yes, as long as you mount it under the desktop instead of leaving it on the floor. That way, only one cable needs to reach the wall, which means fewer tangles and less strain on your cables.
The most common mistakes are fixing the wall cable too tightly, letting cables hang near the desk legs, and leaving slack on the floor. Test your setup at its lowest and highest heights to catch these issues early.